
Upon purchasing a domain through us, the initial step is setting up a DNS zone to manage all of the records of your newly registered domain. DNS records allow us to point your domain to any server, create subdomains, point to an alternative mail server and incorporating other record types discussed further in this post.
There are two ways that you can go about when adding a DNS zone: Adding your domain to a cPanel account, but do not worry an alternative way to do it is creating a plain DNS zone in your Client Area.
Common DNS record types
Before adding your domain, it is important to know the basics of what the most common DNS record types do and how they work:
- A Record: points your domain to an IPv4 address.
- Example: example.com 600 A 123.123.123.123
- Explanation: points your domain example.com to an IP 123.123.123.123 and will update every 600 seconds.
- AAAA Record: points your domain to an IPv6 address.
- CNAME Record: redirects your domain to a different domain.
- Example: www.example.com 600 CNAME example.com
- Explanation: redirects your www subdomain to your main domain
- MX Record: provides a list of mail servers that your domain uses.
- Example: example.com 600 MX Priority: 0 Destination: mail.example.com
- Explanation: indicates that the mail server mail.example.com has the highest priority for this domain
- TXT Record: description of your domain in plain text, commonly used for setting up SPF, DKIM for having better email deliverability.
- NS Record: NS means nameserver and indicates the server which holds the authority for the domain.
- Example: example.com 86400 NS dns1.bacloud.com
- Explanation: indicates that the server dns1.bacloud.com manages DNS zone for this domain. TTL is quite high because nameservers are usually rarely changed
To make a subdomain you can just add an A or CNAME record with the record name of anything.example.com.
TTL or time-to-live is also important: indicates how long your record is active before seeing any updates.
It is recommended to shorten your TTL to 600 (10 minutes) if you want to frequently adjust certain DNS records.
Adding your domain to cPanel
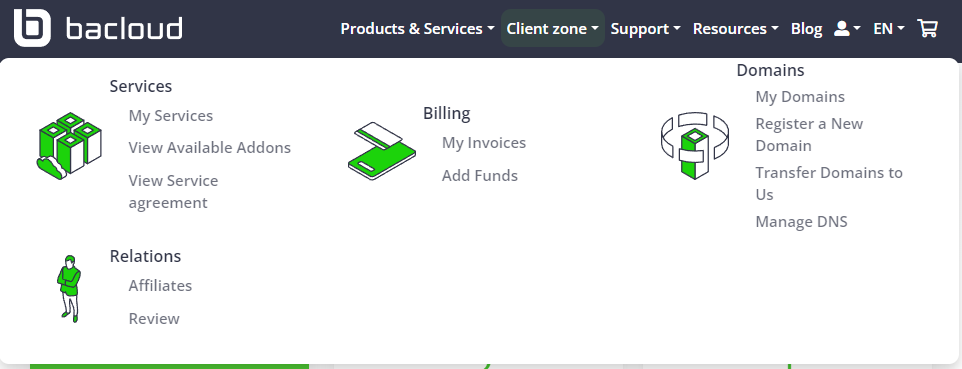
- Firstly select Client zone in the top navigation bar, from there you can select My Services. This will open the list of all the services that you have with us.
- In the Products & Services tab select your cPanel hosting service, then scroll further down and look for a button that says Login to cPanel. Click it to log into your hosting service.

- Find the Domains section and click on the Globe icon named Domains.

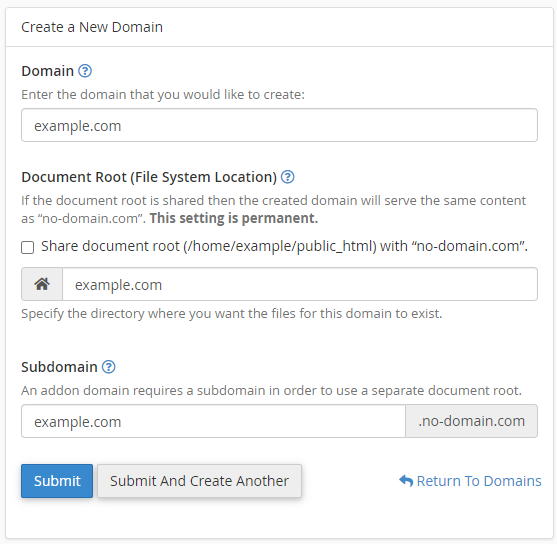
- To add your domain click Create A New Domain. In this page input your domain name and uncheck the Share document root checkbox, unless you are going to use several domains for the same website. And press Submit. It should look something like this:
- If you did this correctly your domain should be added successfully! A DNS zone is automatically generated and in order to manage it go back to Domains section in the main page and select Zone Editor. To manage the DNS records click Manage button right-side of your domain name.
Here you can manage domain’s DNS zone just by clicking Edit or Delete buttons on certain records. After doing all of the steps you have successfully added a new domain to your cPanel account!
Alternative: Creating a DNS zone in Client Area
Alternatively, if you don’t have a cPanel hosting service you can create a plain DNS zone in your Client Area with these few steps:
- Hover over Client zone navigation button and under Domains select Manage DNS.
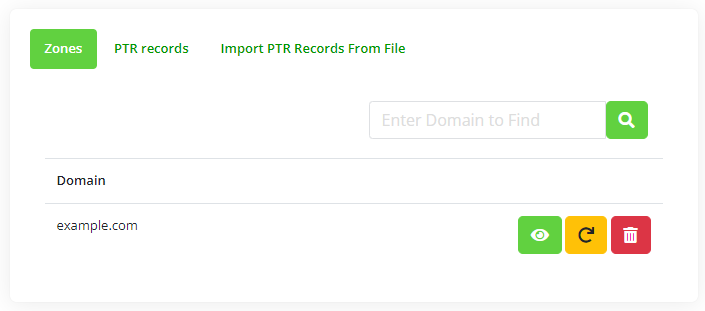
- While here you can see the list of your domains and to add a DNS zone click the Green + icon for your new domain name. This will create a DNS zone that can be used to point your domain name anywhere you like.

- New buttons will appear that are used to Manage (Green icon), Reset to default (Orange icon) and Remove entirely (Red icon). Select the green button to manage your zone.
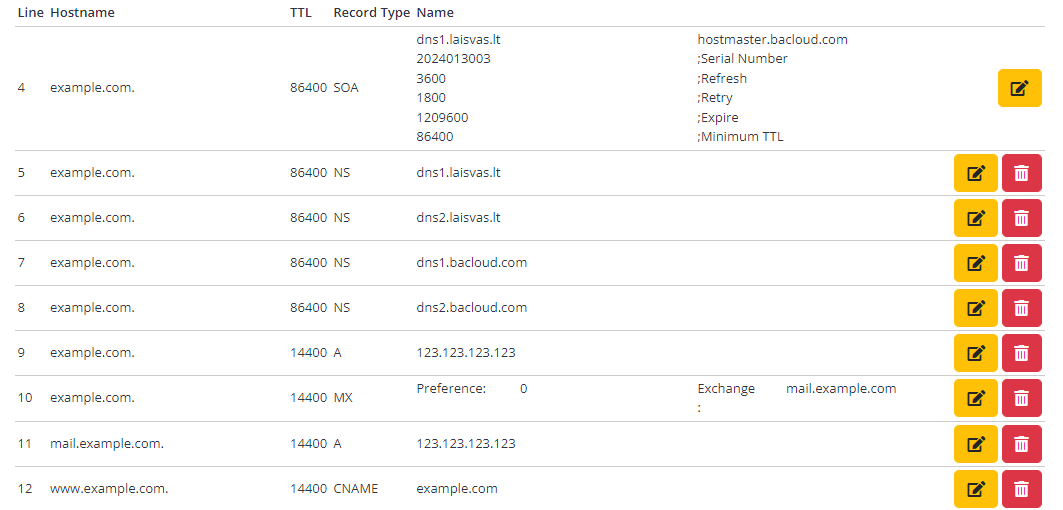
- To manage any record click the yellow edit button. Here is an example of how a domain zone looks like:
We have successfully created a DNS zone for your newly registered domain!