
Remote Desktop Connection, also known as RDP/RDC, is a feature that allows users to connect to a remotely located Windows Server. It enables access to the server’s graphical interface from which you can manage your server, run different applications, and perform tasks like you would on a local computer.
Limiting access to your remote server via RDP ensures that only trusted devices from trusted networks can connect and use the server’s features. This prevents unknown networks from trying to brute-force or attack your server in other ways.
Connecting to the server
Most modern Windows computers already have the RDP application, from which you can connect to your server by taking these steps:
- Open the search bar and type RDP in the search field and press the one that says Remote Desktop Connection. (Note: The icon is usually of a computer monitor)
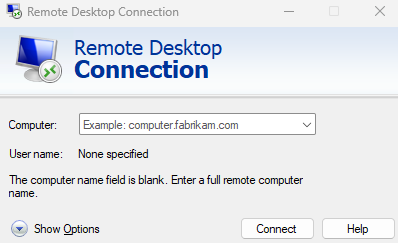
- After clicking it a window will appear in which you input the server’s IP in the Computer field and press Connect. Another window will pop up asking you to enter your credentials - click More Choices and Use a different account , where you type your username, and finally press OK. (Note: In most cases, it’s Administrator)
If you did these steps correctly, you have successfully connected to the server!
Enabling RDP whitelist and adding an IP
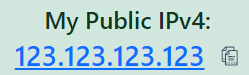
Firstly, before enabling the whitelist, you must add your IP first to prevent locking yourself out of the server. If you are unsure what your IPv4 is, minimize your server’s screen and from your own computer simply go to a site such as https://WhatIsMyIP.com and copy it:
After that, go back to the RDP application and follow these steps to whitelist this or any other trusted IP:
- Open the search bar and type Advanced Security and press the one that says Windows Defender Firewall with Advanced Security. (Note: The icon is usually of a brick wall)

- In the application find & click Inbound Rules, while there you will see plenty of network rules, but you only need to find the one that has a Local Port of 3389 & TCP Protocol, then double-click it. (Note: If you have changed your RDP port find the rule with your custom port)

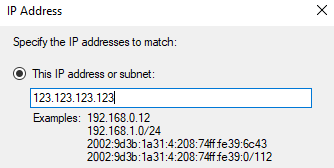
- A window will pop up that shows the Properties of the firewall rule. Press on the Scope tab, it will have two fields: Local IP address & Remote IP address, but you only need to toggle the Remote IP address to These IP addresses like so:
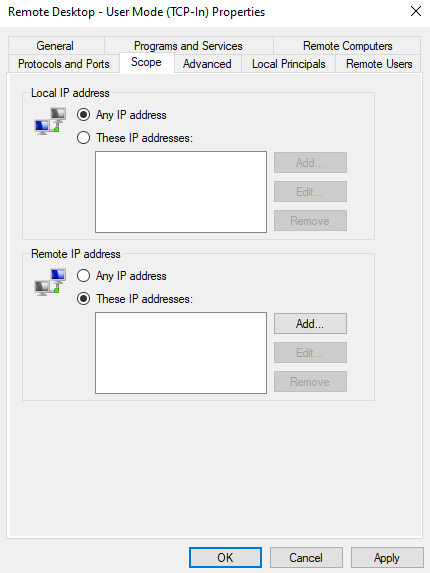
- By pressing Add… you can input any network IP address that you trust, in our case, it’s going to be 123.123.123.123. (Important Note: Always add your own IP address first to avoid locking yourself out of the server) After doing so, press OK and Apply to confirm these changes.
You can test if it works by simply trying to connect to your server from another IP address. One way to do this is by connecting to a VPN service. If all the steps were done correctly, you should not be able to establish a connection via RDP.
By following these few easy steps you have successfully enabled the RDP whitelist and added your own network IP to it!