

 Google Chrome remains one of the most popular web browsers thanks to its speed, reliability, and integration with Google services. If you've recently upgraded to Ubuntu 26.04, installing Chrome lets you continue using the same browser experience you're familiar with on Windows, macOS, or another Linux distribution.
Since Google Chrome is proprietary software, it isn't included in Ubuntu's default software repositories. However, Google provides an official Debian package that makes installation straightforward and enables future updates through Ubuntu's APT package manager.
In this guide, we'll walk through the process of downloading, installing, verifying, and launching Google Chrome on Ubuntu 26.04.
Prerequisites
Before installing Chrome, make sure you have the following:
-
A system running Ubuntu 26.04
-
A user account with sudo privileges
-
An active internet connection
Step 1: Update the Package Index
Before installing Google Chrome, update the local package index to ensure your system has the latest package metadata.
sudo apt updateStep 2: Download the Latest Google Chrome Package
Download the latest stable Google Chrome package from Google's official source.
wget https://dl.google.com/linux/direct/google-chrome-stable_current_amd64.debThis command downloads the latest stable Google Chrome .deb package to your current working directory.
The package contains the files required to install Google Chrome on Ubuntu.
Step 3: Install Google Chrome
Install the downloaded package using APT.
sudo apt install ./google-chrome-stable_current_amd64.debAPT automatically resolves and installs any required dependencies.
During installation, Google’s package repository is added to the system, allowing Google Chrome to receive future updates through APT.
Step 4: Verify the Installation
Verify that Google Chrome was installed successfully.
google-chrome --versionExpected output:
![]()
Step 5: Launch Google Chrome
After installation, launch Google Chrome from either the graphical desktop environment or the terminal.
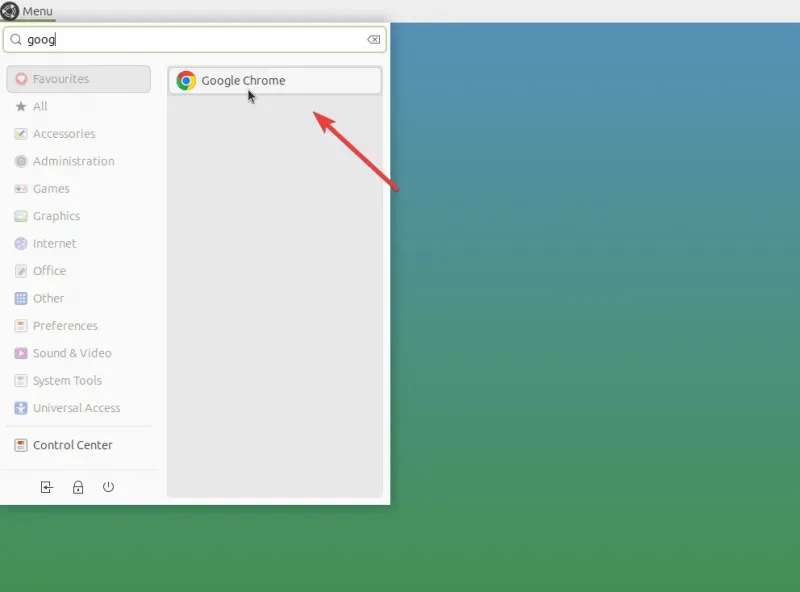
Graphical Desktop
-
Open the Applications menu
-
Search for Google Chrome
-
Select the launcher icon
Terminal
Simply run:
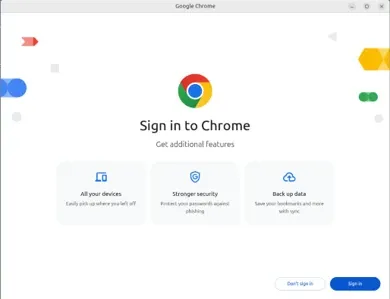
google-chromeWhen Google Chrome opens for the first time, you may see the welcome screen, where you can optionally sign in with your Google account, as shown in the image below:
Set Google Chrome as the Default Browser (Optional)
If you want Google Chrome to open web links by default, set it as the system's default browser.
xdg-settings set default-web-browser google-chrome.desktopAlternatively, configure the default browser through Ubuntu's Settings application.
Updating Google Chrome
After installation, Google Chrome receives updates through the normal APT upgrade process.
Update the package index:
sudo apt updateInstall available updates:
sudo apt upgradeChrome updates are delivered through Google's repository, which was added during installation.
You do not need to download and reinstall a new Chrome .deb package for future browser updates.
Uninstalling Google Chrome
If you no longer need Google Chrome, remove it using APT.
Remove Google Chrome while keeping package configuration files:
sudo apt remove google-chrome-stableIf you also want to remove associated package configuration files, use:
sudo apt purge google-chrome-stableAfter removing the package, clean up unused dependencies:
sudo apt autoremoveConclusion
In this guide, we installed Google Chrome on Ubuntu 26.04 using Google's official package, verified the installation, launched the browser, and reviewed how Google Chrome receives updates through APT. We also covered how to remove Google Chrome if it is no longer needed.
For more in-depth tutorials, visit the BaCloud blog, where you’ll find helpful guides.