
How to connect to Windows server via RDP (Remote Desktop Protocol)
The procedure is not that complicated. Windows has built-in capability to establish RDP with a remote server. We can configure the Windows RDP settings and connect them to a Windows server.
The second way to connect is by using Windows 10 Remote Desktop Connection app, which you will find on the Windows Store. Let’s explore how both these strategies work.
Connecting to Windows remote server
Now is the time to launch the Remote Desktop Connection tool in your Windows 10. Go to Start and find it in the accessories or type “Remote Desktop Connection” in your search bar and click on it.
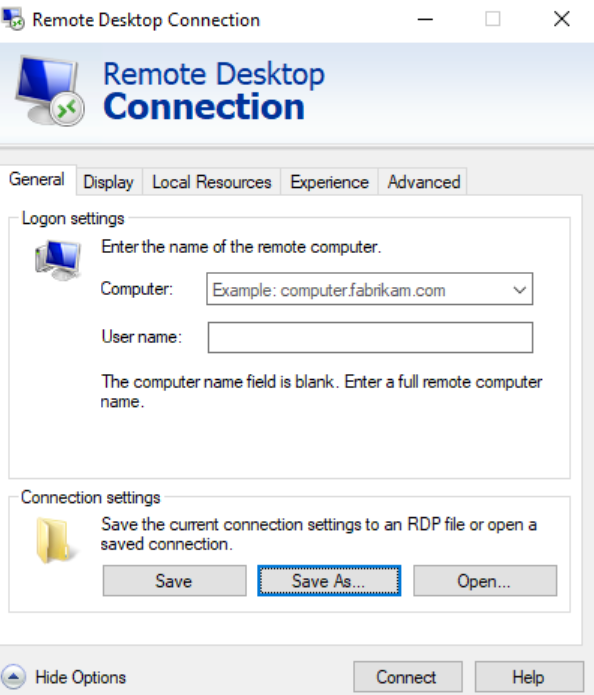
When RBC is opened, enter your PC’s name or IP address in the Computer option. Then click on the “Show Options” button and put your username of the account you will log in from. You can also save your credentials by checking the box “Allow me to save credentials.”
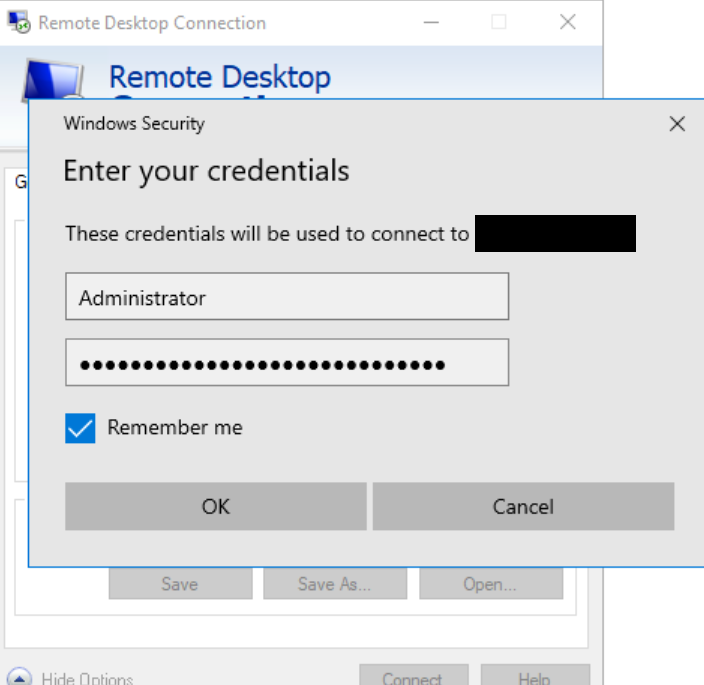
Click on Connect then. Enter your password in credentials and click on “Remember Me” if you don’t want to re-enter the password every time, and then click OK. The PC might display a message that the identity of the PC cannot be verified, but it’s not serious; you can click on the “Don’t ask again” box and click Yes.
The Blue Bar
Now is the time to get connected with the remote PC to run the apps, open the files, and perform any work you want to do. There will be a blue connection bar displayed on the top of your PC screen with multiple options.
The left-side options will allow you to pin the bar and check if the connection is stable. The right side options will allow you to minimize the remote window, resize the window, and terminate the remote session. When you’re done with the session, you can click on the “Close” icon to finish the connection.
![]()
The Remote Connection Settings
You can use several tools from the settings of your Remote Desktop connection. Here are some of them:
- General: It would save the remote session settings to a specific RDP file and transfer a copy to the other PC to transfer the same settings.
- Display: You can alter the size and color depth of your remote window of the current session.
- Local Resources: You can select which local resources to utilize in the current remote session, audio settings, and Windows key combos.
- Experience: It is for a better experience where you can adjust the connection speed for better performance.
- Advanced: You can look at the default actions and set them for server authentication.
The Remote Desktop App for Windows 10
Windows 10 users have another option to use the Remote Desktop app. They can quickly get this app from the Windows Store. Go there, install the RDP app and launch it.
Follow these steps:
- Click on the Add button. Set up the option for Desktop connection.
- Type the PC's name you wish to connect. The + button would help you add your account.
- You can add your username and password to the account window. There is an additional option to add a nickname. Once done, click on Save.
- Double-click on the remote PC icon to connect it. Click on the box next to “Don’t ask about this certificate again” at the certificate menu. Click on “Connect.”
- You will be remotely connected to the other PC. You will see a black panel on the screen side instead of the blue bar.
- You can magnify the screen, go to full-screen mode, or disconnect from the options given.
Setting up RDP for your PC
So, the first step is to sign in to your PC if you still haven’t. Then follow this path:
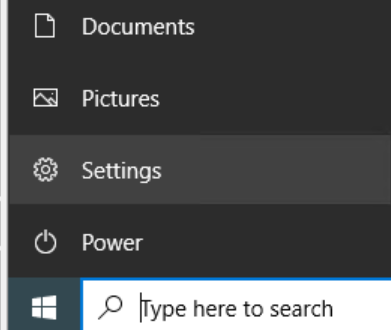
- Go to the Settings.
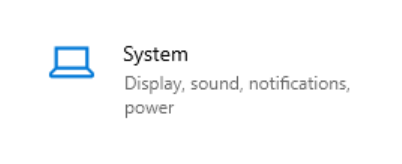
- Tap on System.
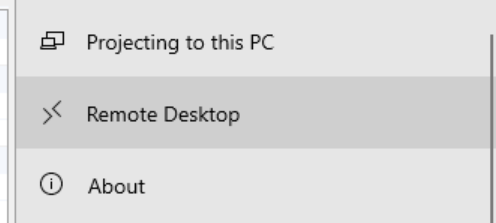
- Click on Remote Desktop.
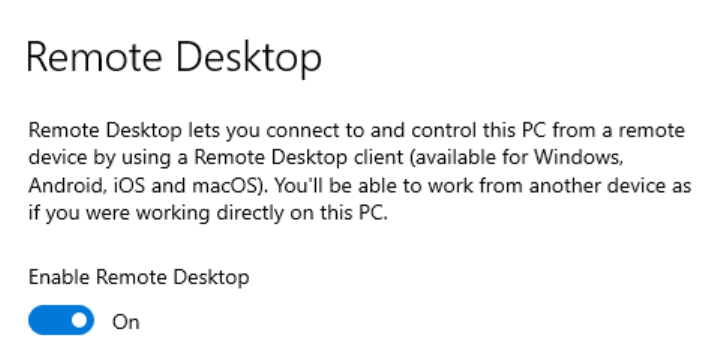
- Toggle on the Enable Remote Desktop option.
Once you turn it on, Windows will again ask if you want to enable it. Confirm your choice and move on.
Advanced Settings
The option to keep PC awake for connection while charging and PC discovery mode on private networks are enabled by default. You can change them, but it’s better to leave them like this.
Tick in the option “Require computers to use NLA to connect” to enable it. Network Level Authentication will add more security during remote connections with added authentication.
Check the “External Connections” section as it will give details about the default port to listen for as well as accept a remote connection. If you’re on the same network, then you can ignore this option.

Remote Desktop Settings
Go back then. Under the “User Accounts” menu, you will see the option to select users that can access the PC remotely. By default, the administrative rights are given to the Microsoft account your Windows PC is using.
However, if you want to grant others access, you can click this option and add the username and email of that account. Also, memorize the PC name as you’d connect with this name. Once done, the PC Remote Desktop Settings are set.

