

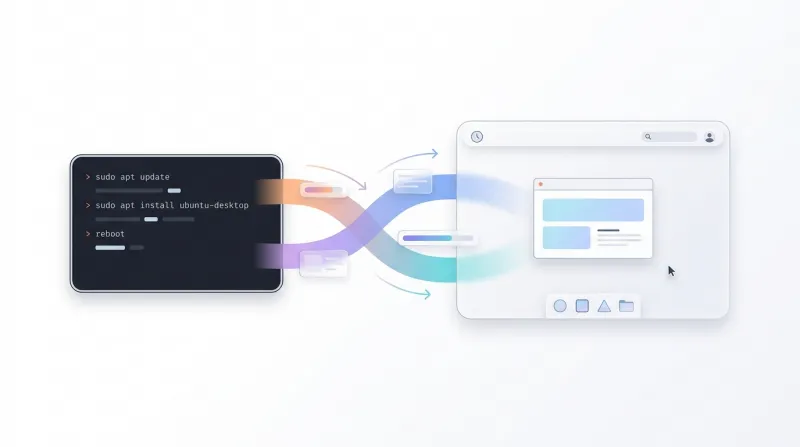
VPS instances are typically deployed without a graphical user interface (GUI), allowing more system resources to be dedicated to server workloads. While the command line is sufficient for most administration tasks, some applications and workflows are easier to manage with a desktop environment.
For example, a GUI allows you to use a web browser, graphical database management tools, and desktop IDEs directly on the server.
In this guide, we'll install a lightweight desktop environment on a VPS running Ubuntu Server 26.04 LTS, configure remote desktop access with XRDP, and verify that everything is working correctly.
Prerequisites
Before you begin, make sure you have:
-
A BaCloud VPS running Ubuntu Server 26.04 LTS
-
A non-root user with sudo privileges
-
SSH access to the server
-
At least 2 GB of RAM, 2 CPU cores, and 5–10 GB of available disk space
Step 1: Update the System
Before installing a GUI, update the package index and upgrade installed packages to help prevent dependency and compatibility issues.
Run the following commands:
sudo apt update && sudo apt upgrade -yStep 2: Install a Desktop Environment
Ubuntu supports several desktop environments, each with different resource requirements. For VPS deployments, XFCE is a good choice because it's lightweight, responsive, and performs well on systems with limited resources.
Install XFCE by running:
sudo apt install xfce4 xfce4-goodies -yOther desktop environments are also available, including GNOME, KDE Plasma, LXQt, and MATE. However, these generally require more RAM and CPU resources than XFCE.
Step 3: Install a Display Manager
A display manager provides the graphical login screen and starts desktop sessions. For XFCE, LightDM is the recommended display manager because it is lightweight and integrates well with the desktop environment.
Install LightDM:
sudo apt install lightdm -yIf another display manager is already installed, you'll be prompted to choose one. Select LightDM. On a clean Ubuntu Server installation, this prompt usually doesn't appear because no display manager is installed.
Verify that the LightDM service is available:
systemctl status lightdmIf the service is running, you should see output similar to:

This confirms that the LightDM service is running successfully.
Step 4: Install XRDP
Because a VPS has no physical monitor, you'll need a remote desktop server to access the graphical desktop. XRDP is recommended because it uses Microsoft's Remote Desktop Protocol (RDP), is compatible with Windows, Linux, and macOS RDP clients, and is available directly from Ubuntu's repositories.
Install XRDP:
sudo apt install xrdp -yTo allow XRDP to access the system's SSL certificates, add the xrdp user to the ssl-cert group:
sudo adduser xrdp ssl-certEnable and start the XRDP service:
sudo systemctl enable --now xrdpRestart the service to apply the group membership change:
sudo systemctl restart xrdpVerify that XRDP is running:
systemctl status xrdpIf XRDP is running correctly, you should see output similar to:
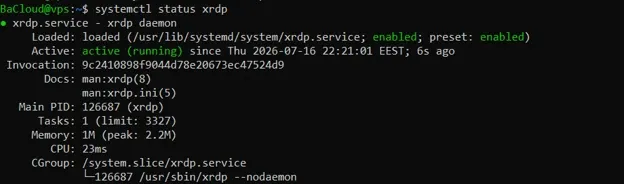
This confirms that the XRDP service is running successfully.
Step 5: Configure XRDP to Launch XFCE
By default, XRDP doesn't know which desktop environment to start after you sign in. Create an .xsession file to specify XFCE as the default session.
Create the session file:
echo "startxfce4" > ~/.xsessionMake the session file executable:
chmod +x ~/.xsessionRestart the XRDP service to apply the changes:
sudo systemctl restart xrdpStep 6: Configure the Firewall
XRDP listens for incoming Remote Desktop Protocol (RDP) connections on TCP port 3389. If UFW is enabled on your server, allow incoming connections on this port:
sudo ufw allow 3389/tcpVerify that the firewall rule has been added:
sudo ufw statusIf the rule was added successfully, 3389/tcp should appear with an ALLOW action.
Step 7: Connect to Your VPS GUI
Now that everything is set up, you can log in to your GUI using an RDP client.
For Windows Users:
-
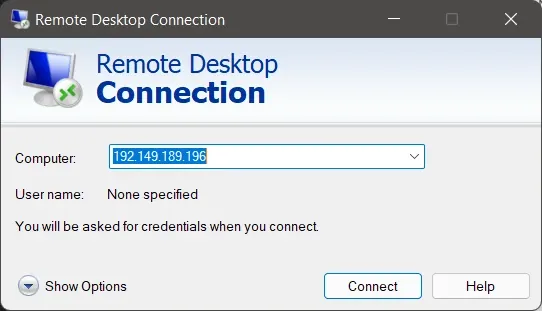
Open Remote Desktop Connection (mstsc in the Run dialog).
-
Enter your VPS IP address and click Connect.
For Linux/macOS Users:
Use Remmina or FreeRDP. Example command:
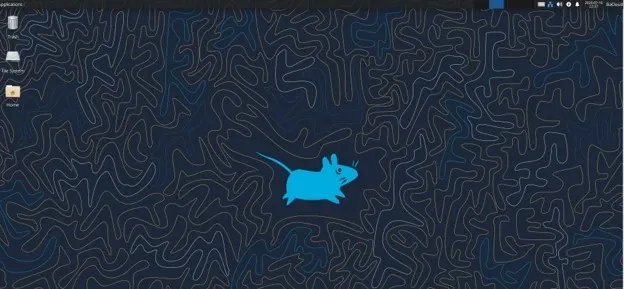
xfreerdp /u:your-username /v:your-vps-ipAfter logging in, you’ll be greeted with the XFCE desktop.
Conclusion
In this guide, you installed a lightweight XFCE desktop environment on a BaCloud VPS running Ubuntu Server 26.04 LTS, configured XRDP for remote desktop access, and updated the firewall to allow RDP connections.
You can now remotely access your VPS through a graphical desktop to use applications such as a web browser, graphical database management tools, and desktop IDEs directly on the server.
For more in-depth tutorials, visit the BaCloud blog, where you’ll find helpful guides.