
Accessing the Remote Server via Console Redirection Using the Browser
1. Log In to the Remote Console
Input the IPMI IP in the browser address bar, and press Enter. Once you are connected to the remote server via IPMI Console Redirection, the following IPMI Login screen will display.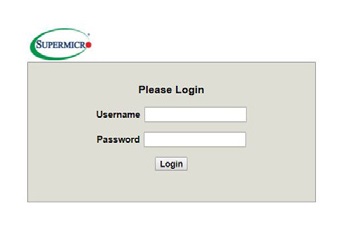
- Enter your username in the Username box.
- Enter your password in the Password box and click on Login.
- The home page will display as shown on the next page.
2. IPMI Main Screen
The IPMI Main screen displays the following information.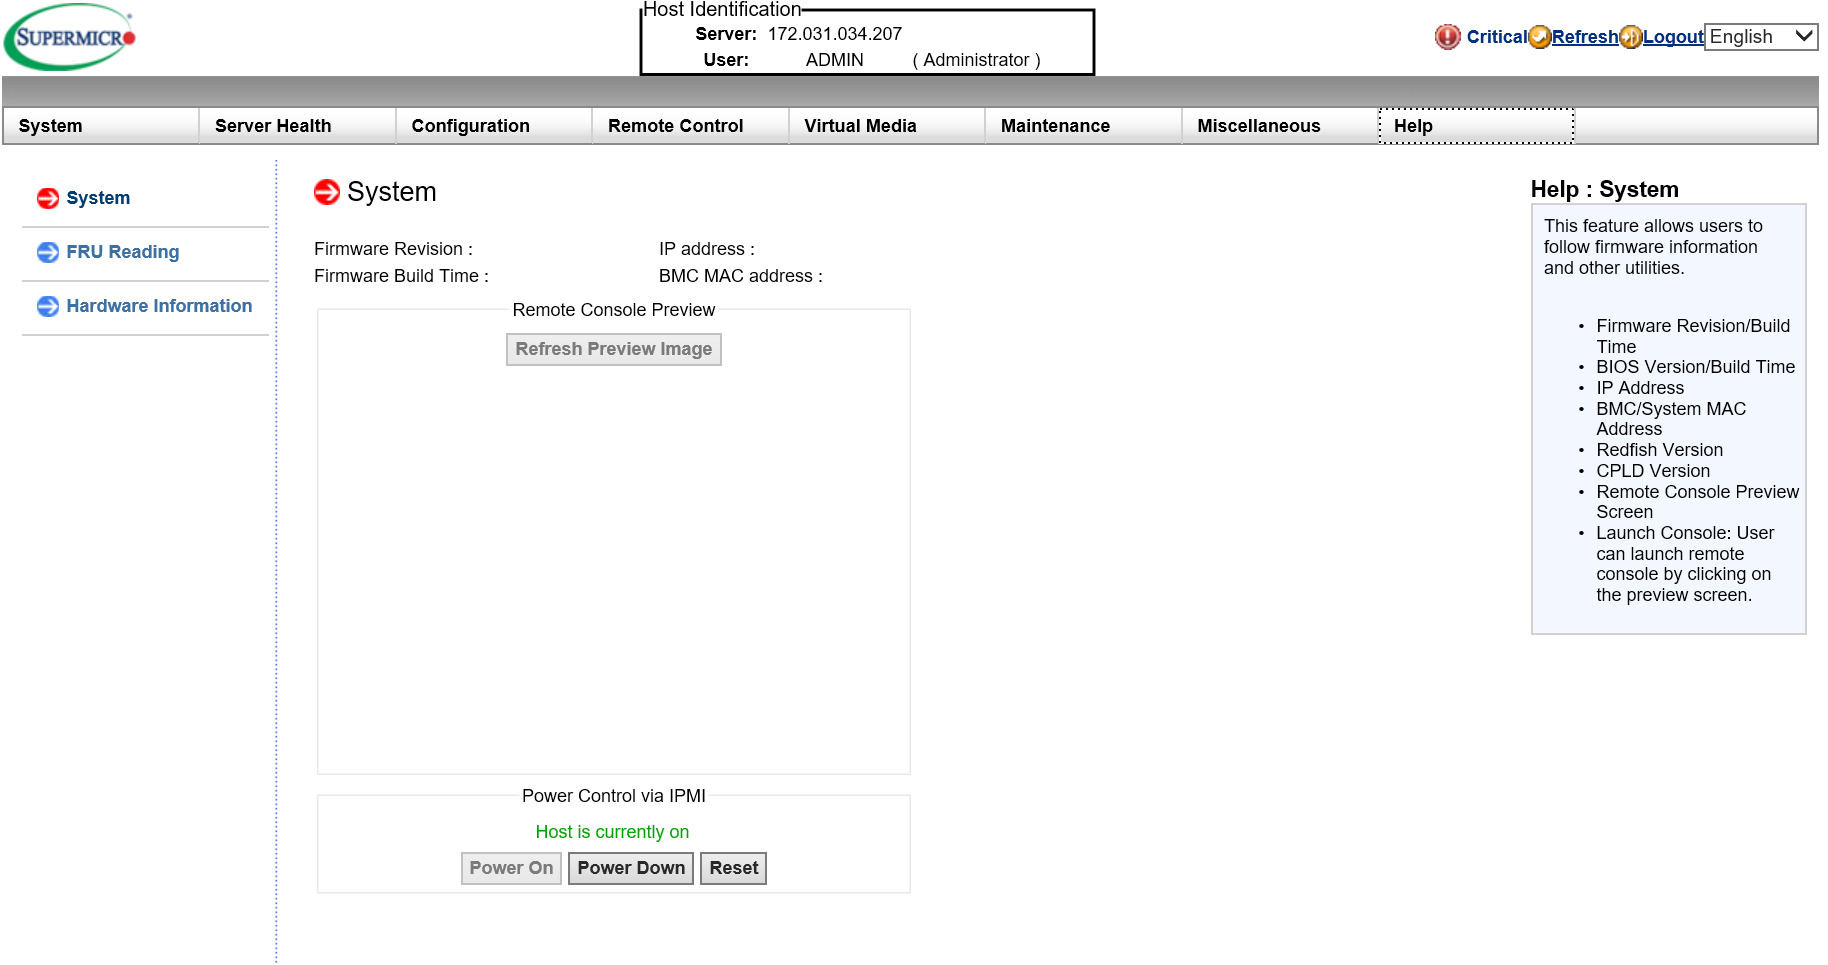
The IPMI Main screen displays system information, including the following:
- The Menu bar: The menu bar on the top displays System Information, Server Health, Configuration, Remote Control, Virtual Media, Maintenance, Miscellaneous, and Help. Click an item on the menu bar to access an IPMI feature and configure its settings.
- The System window: This window displays the System submenu items. Click an item in this window to configure the following settings.
- FRU Reading: This page details the FRU (Field Replaceable Unit) information. Click on FRU Reading to display this information.
- Hardware Information: This page shows the hardware architecture. Click on Hardware Information to display the following information:
- System
- Manufacturer
- Product Name
- Serial No.
- BIOS
- CPU
- CPU1
- CPU2
- DIMM
- Shows the slots that are occupied by DIMM modules (e.g. P1-DIMMA1, , P1-DIMMB1, P2-DIMMA1, P2-DIMMB1)
- Power Supply
- System Power Supply #1
- System Power Supply #2
- System
- Summary: This field provides the following information:
- Firmware Revision
- Firmware Build Time
- BIOS Version
- BIOS Build Time
- Redfish Version
- CPLD Version
- IP Address
- BMC MAC Address
- System LAN 1 MAC Address
- System LAN 2 MAC Address
- Remote Console Preview - a display of the remote system (the host machine) running at the specified IP address
- Power Control via IPMI: This field provides options for powering on and off the host sytem.
- Power On: Click this button to power on the host system.
- Power Down: Click this button to power off the host system.
- Reset: Click this button to reset the host system.
- Click on the Help tab to display the Help menu. The menu displays the following information:
- Firmware Revision/Buiild Time
- BIOS Version/Build Time
- IP Address
- BMC/System MAC Address
- Remote Console Preview Screen
- Launch Console: This feature allows the user to launch a remote console by clicking on the preview screen
- Power Control: This feature allows the user to monitor and change the system power state via IPMI.
3. Remote Control
This section allows the user to carry out activities and perform operations on a remote server via remote access. When you click Remote Control in the Options window, the following screen will display:
Note: Settings will vary by system.
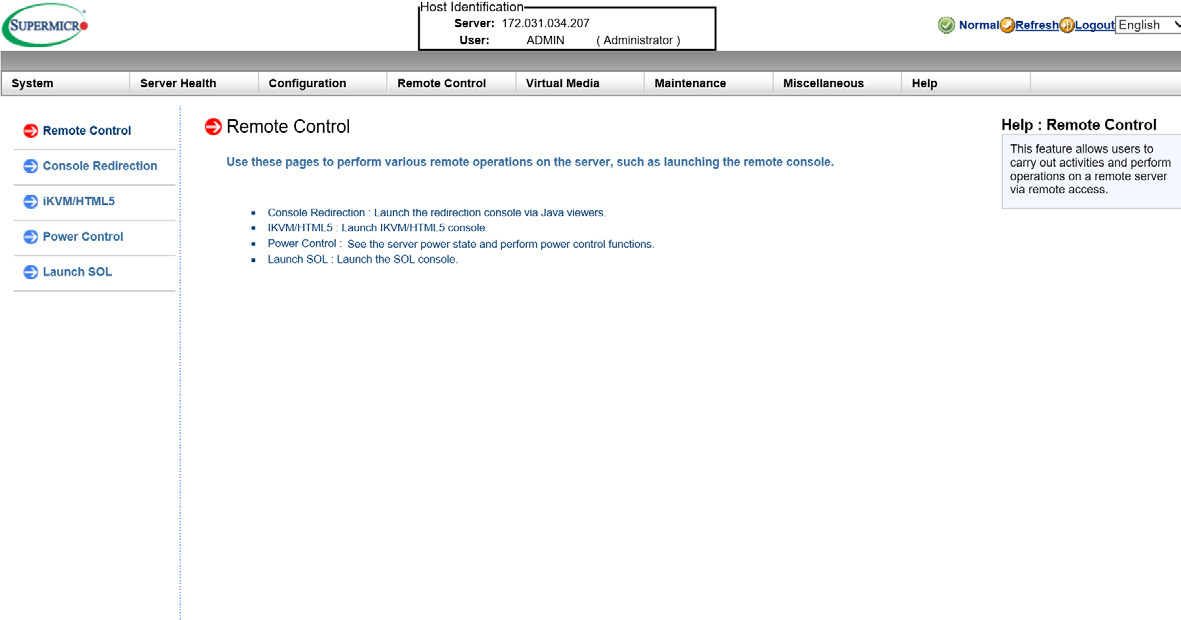
- Click Console Redirection to launch Console Redirection and configure the settings of the remote server. For more details on Console Redirection, please refer to Launching Console Redirection on the next page.
- Click IKVM/HTML5 to to launch the remote console.
- Click Power Control to display and configure the power settings of the remote console, including the following settings.
Once you have clicked the desired power setting, click Perform Action to change the power setting of the server.- Reset Server
- Power Off Server-Immediate
- Power Off Server-Orderly Shutdown
- Power On Server
- Power Cycle Server
- Click Launch SOL to launch SOL (Serial Over LAN) console and manage the remote server.
- Click Help to display the Help menu for the Remote Control page.
4. Launch Console Redirection
This feature allows you to launch Console Redirection via IKVM (keyboard, video/monitor, mouse) support. When you click Console Redirection in the Options window, the following screen will display: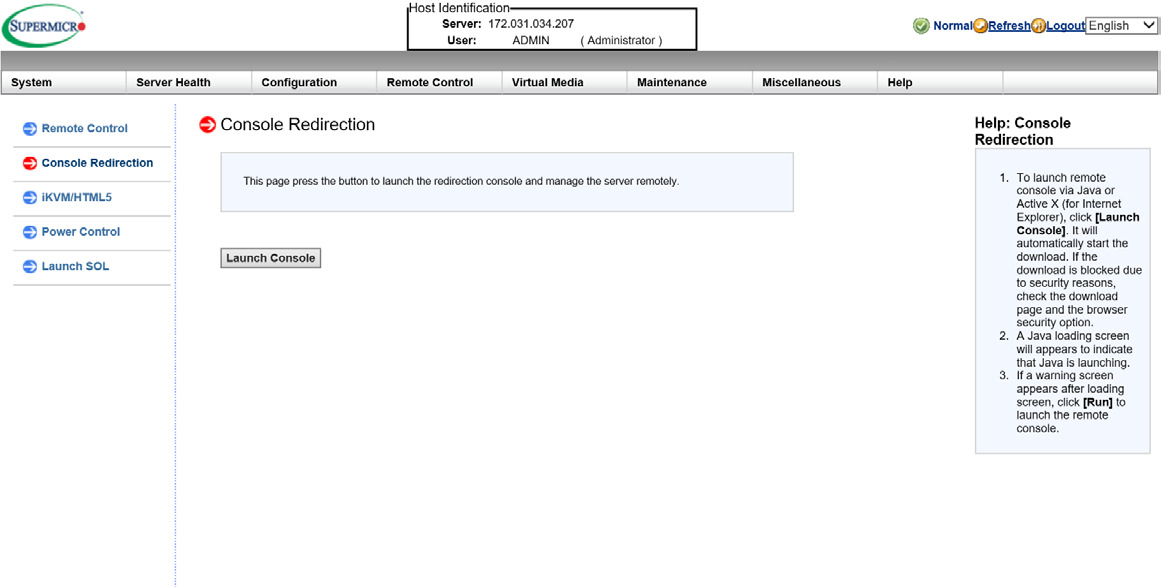
- Click Launch Console on the Console Redirection screen to launch the remote console via Java (for the Internet Explorer). You need to have Java installed in your system to launch the console.
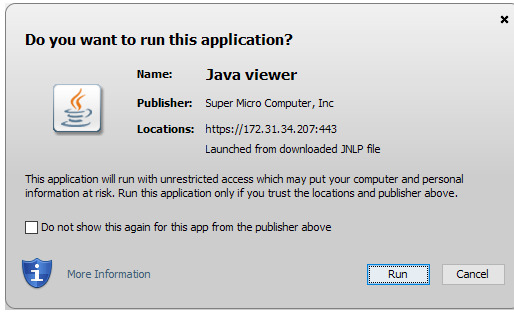
- A dialog box will display to indicate that Java is launching.
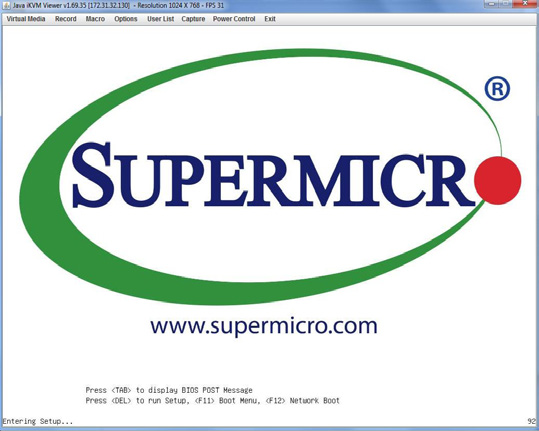
- Click Run to launch the remote console. The main screen like the one below will appear. Note that your screen may not look exactly like the one below.
Click Help to display the Help menu for the Console Redirection page.
5. Console Redirection - Virtual Device
This feature allows you to configure virtual device settings for your console redirection.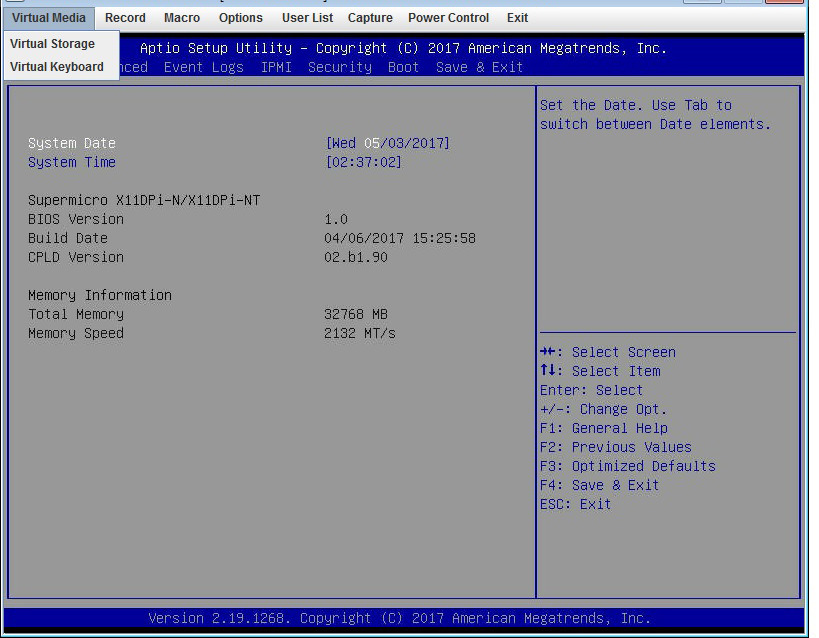
- Click Virtual Media to configure virtual device settings of a server at a remote site via Console Redirection.
- Click Virtual Storage to select a device you want to connect to the remote server as a virtual device.
- Click Virtual Keyboard to launch the virtual keyboard.
When you click on Virtual Storage as described on the previous page, the following screen will appear. You are able to use up to three devices for virtual storage.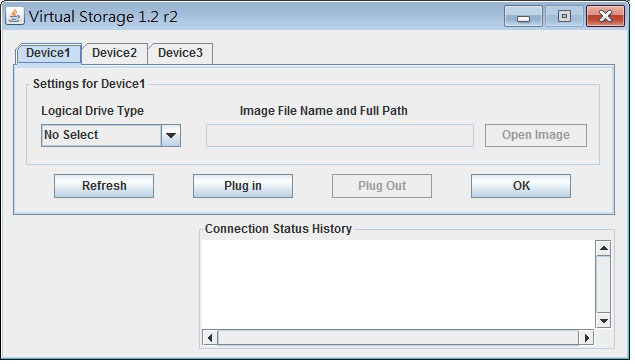
- Select the logical drive type from the dropdown menu. The options are as follows:
- Upload IMA: Select this feature to browse for an IMA file and upload it to the system.
- ISO File: Select this feature to browse for an ISO file and upload it to the system.
- Web ISO: Select this feature to select a Web ISO and mount it from the web page. The file will be mounted from the web interface. To specify the file location, set the image path on the CD-ROM Im- age page in the IPMI.
- HD image: Use this feature to select a virtual HD image and install it into the system.
- C: SATA HD: Use this feature to select a SATA HD from the local computer you are using to access the IPMI.
- D: SATA HD: Use this feature to select a SATA HD from the local computer you are using to access the IPMI.
- Click on Plug in to mount the selected drive.
- Click on Plug out to unmount the selected drive.
6. Console Redirection - Macro
This feature allows you to configure Macro settings for your console redirection.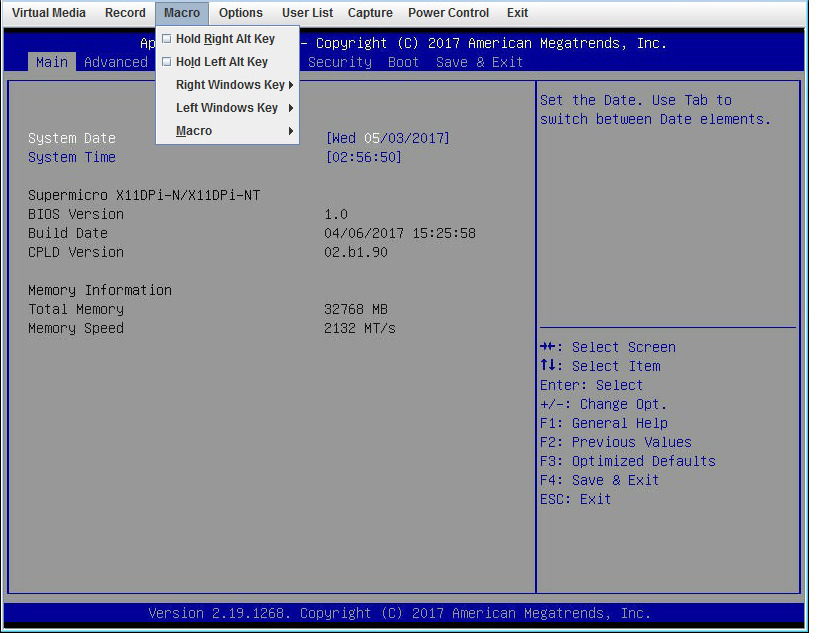
- Click Macro to configure the Macro settings for your remote server. The features include the following:
- Hold Right Alt Key: This item performs the same function as holding down the right Alt key.
- Hold Left Alt Key: This item performs the same function as holding down the left Alt key.
- Right Windows Key: This item performs the same function as you pressing the right Windows key. Select Hold Down or Press and Release.
- Left Windows Key: This item performs the same function as pressing the left Windows key. Select Hold Down or Press and Release.
- Alt+Esc
- Ctrl+Esc
- Alt+Space
- Alt+Enter
- Alt+Hyphen
- Alt+F4
- Alt+PrntScrn
- Prnt+Scrn
- F1
- AltF1
- Pause
7. Console Redirection - Power Control
Under the Power Control menu, you can manage the power state of the system.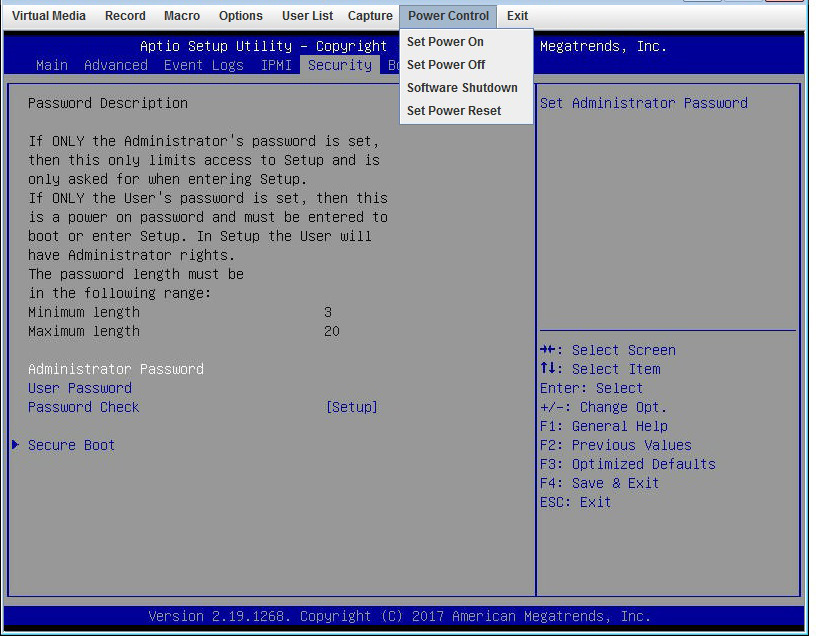
- The power control features are the following:
- Set Power On: This feature allows you to turn the system on.
- Set Power Off: This feature allows you to turn the system off.
- Software Shutdown: This feature allows you to perform a graceful shutdown of the system.
- Set Power Reset: This feature allows you to reset the system.
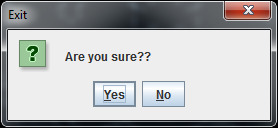
8. Console Redirection - Exit
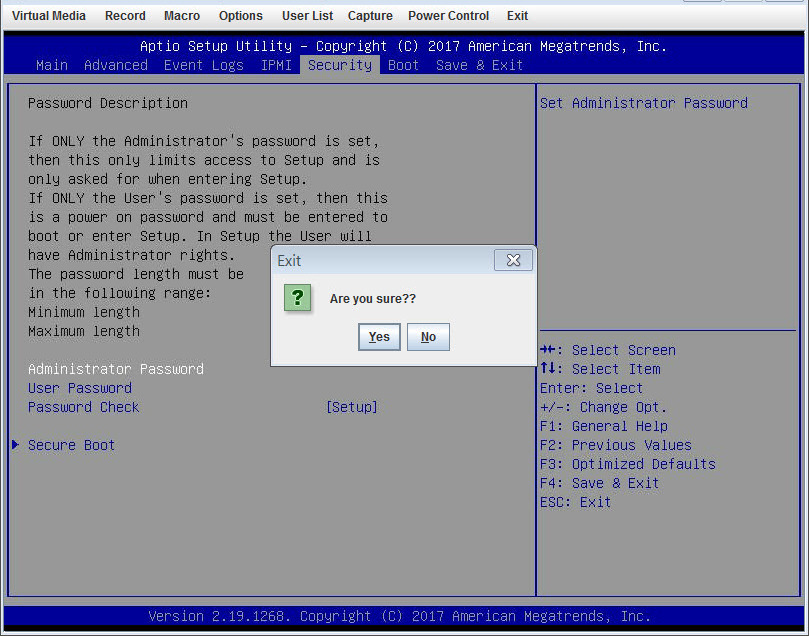
- To exit the Console Redirection, click on Exit under the Exit menu.
- Click on Yes in the Exit dialog box to exit.
9. Power Control
This feature allows the user to check the power state and manage the system. When you click on Power Control in the Options window, the following screen will display.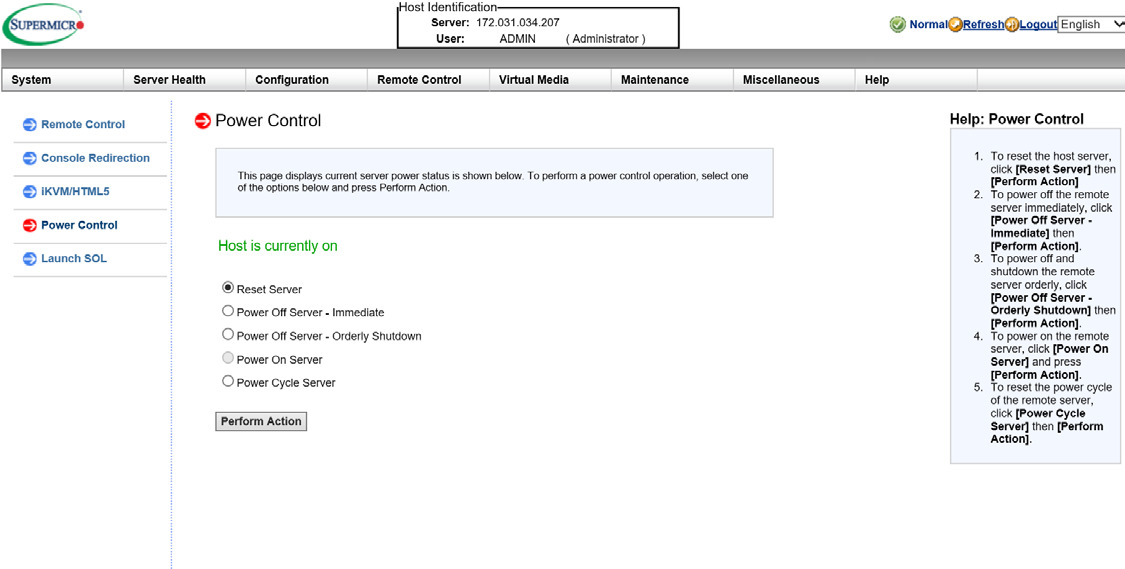
- To enter the screen shown above, click the Power Control item in the Remote Control sidebar. The following options are listed:
- Click on Reset Server to reset the host server.
- Click on Power Off Server - Immediate to power off the remote server immediatly.
- Click on Power Off Server - Orderly Shutdown to power off and shutdown the remote server in an orderly fashion.
- Click Power On Server to power on the remote server.
- Click Power Cycle Server to power cycle the remote server.
- Click Perform Action after choosing an option to commence
- Click the Help tab to display the Help menu. The menu includes an explanation of all the power modes.
![]() More info about IPMI you can find here.
More info about IPMI you can find here.